
Table of Contents
How To Start Blogging
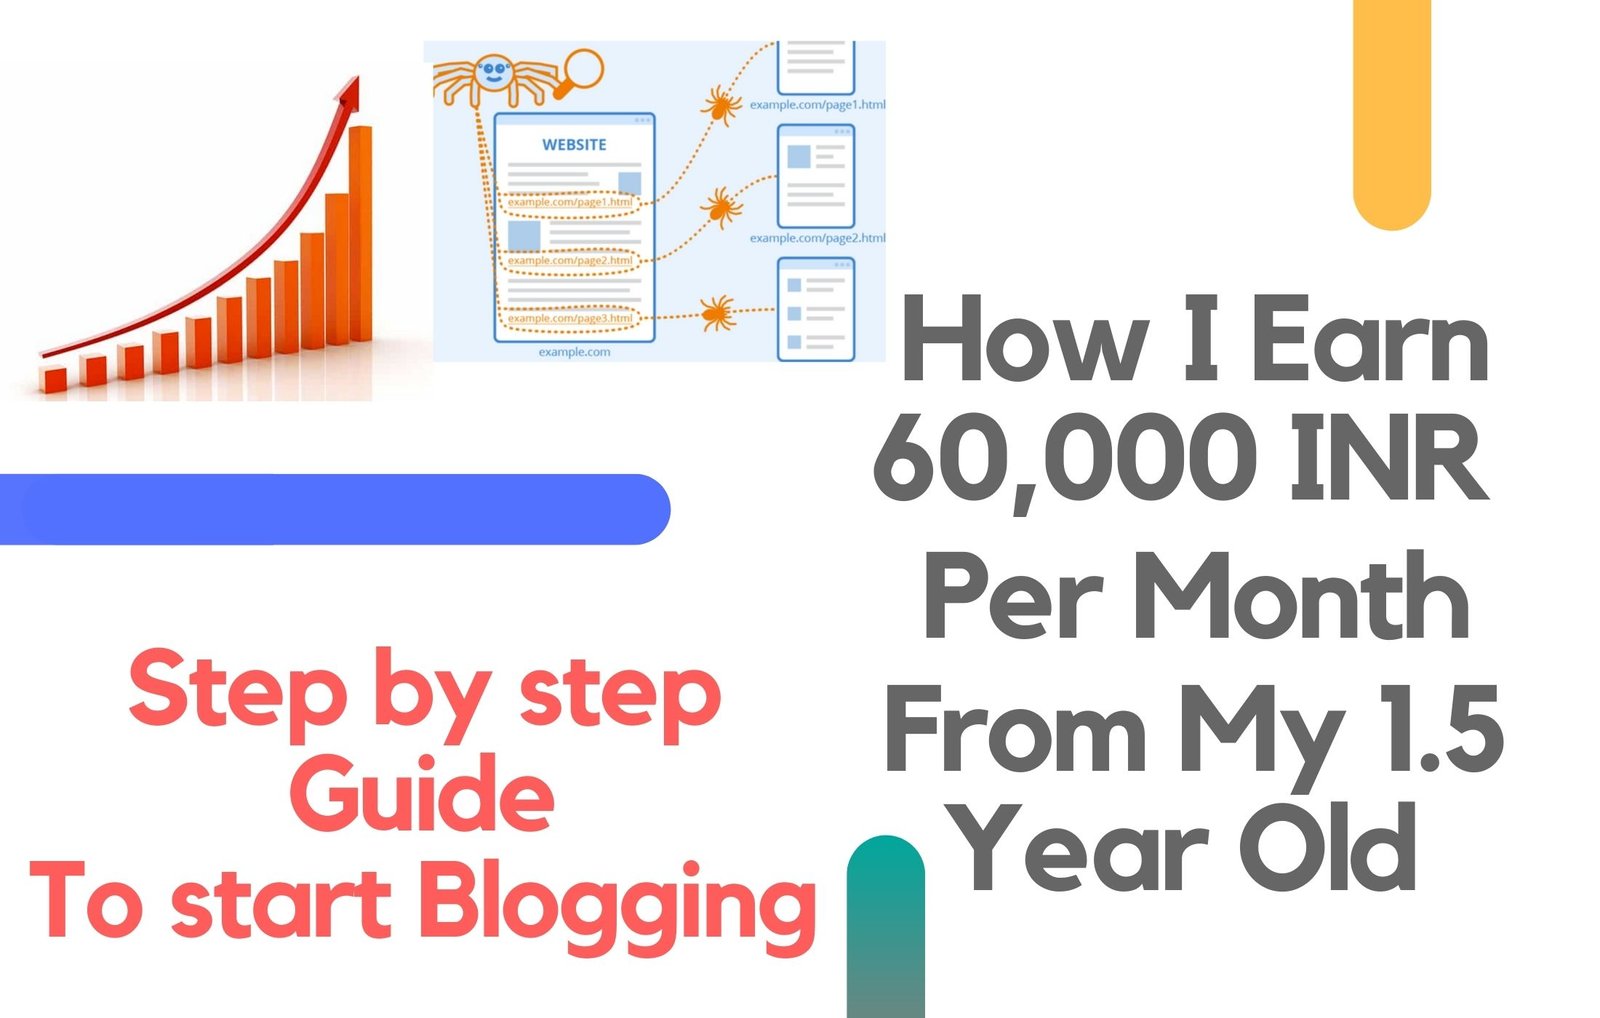
Here in this post, I will share with you, why and how I started blogging? What did I go through during all these years? How did I manage my time, keeping up another regular job? What mistake did I do in my early stages of blogging? And if you want to start blogging, what exactly shall you do? How To Start Blogging
Why And How I started Blogging?
It was probably around midnight in the month of November 2018, I was just sitting on my bed and was not in a very happy mood, because I was working on something for the past few days but the results were not in favor of me.
To make up for this bad event, I thought let’s give some dopamine to my brain by doing something very new. I have done this kind of activity earlier, boosting my brain with dopamine, by planning a week-long trip to Spiti Valley in 15 minutes, when I was super busy with work (just buy the flight tickets and the rest can be planned later).
So I do not really know, what prompted me to visit Godaddy and buy a domain name. I searched for a suitable name and paid around 800 INR to get a domain. I didn’t think much that night and I sleep happily (the feeling when you buy a lottery ticket and is hopeful about it).
I didn’t search for anything about the domain for the next 3-4 days. After a few days, an email came from Godaddy, mentioning that there is a special discount for me on domain hosting. I thought what is domain hosting, I already have a domain.
Till that time, I thought blogging is like posting your thoughts on social media, write – click post – and you are done. But when I read more, I realized wow – this is like another Ph.D. topic.
In that 300 word paragraph, I read on how to start blogging, I came across 10 words, which I didn’t know what is it – hosting, crawling, indexing, SEO, keywords, etc.
What did I go through during all these years?
I hosted my blog in December 2018. I wrote my first few posts on Goa, PayPal, Yatra, and applied for Google Adsense. Luckily I didn’t copy pasted stuff and tried to write unique articles, so in just around one week I got accepted from Google Adsense. I started posting ads on my website.
For the next two weeks, I worked hard, wrote a few more posts, started promoting my blog with my friends, and on social media. During that time I was investing 5-6 hours every day, reading about WordPress, trying new plugins, rewriting my articles, trying to give it a better look, including more information.
I was happy to see the initial traffic on my website, as my blog was new and as I have a good network of friends, so many people just wanted to see, how it is and what it is about?
But as they all got saturated, my blog traffic reduced drastically. I started writing better content but then I was not generating much traffic. I joined a 50-100 more Facebook group and started posting my blog links. I was unaware that Facebook treats this as spam and after a few warnings, they deactivated my profile.
That was a big blow – I had 2,000+ friends from different parts of the world and I lost connection with them. It was super demotivating and I stopped blogging for the next 6 months. Once a while, when I find a new idea, I gather my motivation to write an article. So during the next 6 months, I wrote only a few articles and got busy with my research work.
How did I manage my time, keeping up another regular job?
Initially, I was investing 5-6 hours per day (December 2018). I read hundreds of blogs, watched hours of youtube videos to learn the basics of blogging. Then during the demotivating phase (January 2019 -June 2019), I was only writing articles when I find something interesting, so you can say, I was spending 2-3 hours a week.
In August 2019, I read more about blogging experiences, what to do, what not to do, and gained faith in blogging. From August 2019 onwards, I have been spending 5-10 hours per week writing new articles, updating old ones, promoting them, and learning new techniques. When I am freer, then I do spend more time blogging. There were also 2-3 busy months where I have not even spent 1 hour a week.
3 Mistakes Of My Blogging Career
I can think of these 3 major mistakes in my blogging career.
- Buying the .in domain – I choose the .in domain instead of the .com domain because it was $5 cheaper. The .com domain is used for a global presence where the .in domain is country-based. As the CPC rate is quite low in India, you will get much lower Adsense earning.
It is like buying a 3 star AC when compared to 5 stars AC, just because of the 5000 INR difference, ignoring the fact that in a long run, 3 stars AC will add 25,000 INR more to the electricity bill.
- Not Working On SEO – I spent hours and hours on writing blogs, without following any SEO practices (my second mistake). This was the hardest time for me, even after spending 3–4 hours a day for 2–3 months, what I was getting is like a handful of organic search. I read that blogging takes time, so I waited for 6 months for it performs but nothing happened.
After 6 months, more than 90% of my traffic was from my posts on social media – Facebook group, WhatsApp groups, etc. On top of this, I was even blocked from Facebook from posting recurring posts and lost my 6-year-old Facebook profile. FYI – I have not able to recover my old Facebook profile yet.
- Preferring Cheaper Initial Cost Over Long Term – After spending thousands of rupees on hosting, I was determined that I won’t spend any money on the theme, plugins, or tools (my third mistake). So instead of spending 500 INR, I would spend 50 hours reading blogs, watching youtube videos on how to fix the fonts, hyperlink, make tables, etc. This adds to the frustration level.
But something beautiful happened, after reading a few reviews on SEMrush, I decided to use the free trial. Before SEMrush came to me, I had started earning from Google AdSense, 10–15 USD per month. So I took the bold decision on spending all my savings from a blog on the first-month subscription of SEMrush. Let me tell you that I only used it for a month and then I canceled my subscription because, at that time, the price was way out of my capacity.
Timeline of My Blogging Journey
- November 2018 – Bought Domain Name
- December 2018 – Launched Website And Got Google Approval
- January 2019 – Made My First $10
- July 2019 – Started Getting 1000 Daily Traffic
- August 2019 – Received My First Adsense Payment of $169.20
- October 2019 – Received My Second Adsense Payment of $150.02
- November 2019 – Received My Third Adsense Payment of $109.74
- April 2020 – Started Getting 5,000 Daily Traffic, Adsense Earning Remain Around $100 (CPC rate decreased)
- June 2020 – Started Getting 7,000 Daily Traffic, Google Adsence+Affiliate Earnings (Total earning – 25,000 INR per month)
- June 2020 – Started Getting 7,000 Daily Traffic, Google Adsence+Affiliate Earnings (Total earning – 25,000 INR per month)
- August 2020 – Re-Audited My Site, 10,000 Daily Traffic, (Total earning – 50,000 INR per month)
- October 2020 – 12,000 Daily Traffic, (Total earning – 60,000 INR per month)
And after less than 2 years, here I am now
- Global ranking 185,314 in Alexa, Indian Ranking – 22,851
- Current Website Value is around 3.5 Lakh
- Organic Traffic – 96%

Step by step guide for starting blogging
Let me just tell you, it is not easy to become a successful blogger, neither it is very hard. The best thing about blogging is that everyone can start a blog. You do not need any experience.
Before you start your blogging career, you need to have an aim, why exactly you want to start blogging. I can think of these basic reasons why you want to start blogging
- Sharing your passion and pampering yourself with other’s appreciations
- Share your valuable knowledge and help others educate, motivate
- Marketing your business and getting more exposure
- Starting a second earning to achieve your financial freedom
You may have one of these reasons (or something else too) to start a blog.
Here are the main steps involved in starting a blog
Step #1: Decide what will be your blog niche – (travel, cooking, weight loss, etc.)
Step #2: Choose a blogging platform (Free or Paid)
Step #3: Find a suitable domain and buy it
Step #4: Finalize your domain hosting
Step #5: Decide your theme and download plugins
Step #6: Write posts and publish them
Step #7: Promote your blog with friends and on social media platforms
Step #8: Once it starts to get decent traffic, you can monetize with Google Adsense
Step #9: Once you have 40-50 posts, you can apply for affiliate and start promoting them for extra income
Step #10: Start auditing your website once a month, increase your backlink, analyze your ranking
Step #1: Decide what will be your blog niche
A blog niche is a specific topic you’ll write (or create other types of content) about on your blog. There are a few things you shall consider when deciding your blog niche.
- You shall select a topic you enjoy talking about. You can also start writing on something which is new to you, but for this, you need to do extensive research and has the ability to put it crispy and valuable to your readers. For example, you do not know anything about organic gardening but decided to start a blog. During the process, you can read the latest blogs, news, and then compile them on your blog. This way, you gain knowledge on a new niche as well as start gathering visitors for your blog. But keep in mind that as long as it is a fun process, you will enjoy blogging, or else you will lose interest in due time.
- You shall also make sure that the niche you are selecting is having good traffic or is relatively new or both. If it’s new then there are high chances, there will be fewer blogs on it and it will be easy to rank in google on those topics.
- As selecting the niche is the first step, it becomes very important to make double sure that you are on the right path. You can ask yourself these question before you select your niche
- Are You Interested Enough in This Blog Niche?
- Do You Know Enough About This Blog or Willing To Research and Learn?
- How Good is Traffic For This Niche?
- What Is the Life Time of This Niche – Is it Short-Lived or Long-Lived?
- How Tough Is to Rank On This Niche?
Step #2: Choose a blogging platform
Once you have decided on your niche, the next step would be which blogging platform to use. Blogging platforms are broadcast-style communications systems that enable authors to publish articles. There are two types of Blogging platforms
1 – Free Blogging Platforms – Free blogs are best for people who are just exploring the blogging world or are not very serious about blogging. If you’re just blogging for fun, then by all means start with a free blog!
Bloggers.com is a free blogging platform. Suppose you decided to write blogs on travel with your blog names as “Travel India” then your website would be www.travelIndia.blogger.com
2 – Self Hosted Blogging Platforms – Self-hosted platforms allow you to set up and run your blog using your own domain and web hosting. You’re fully in charge of your blog and its contents. Self-hosted blogs look more professional and are easy to remember. So you can have www.travelIndia.com as your website address
Step #3: Find a suitable domain and buy it
A domain name often referred to as “web address”, is the address that people type into a browser address bar to find your website. It is recommended to go for top-level domains like
- .com – commercial business (the most common TLD)
- .org – organizations (typically, nonprofit)
- .gov – government agencies
- .edu – educational institutions
- .net – network organizations
However, if you want to focus on any specific country then you can opt for Country Code Top-Level Domain (ccTLD)
- .in – For India
- .pk – For Pakistan
Before you finalize your domain name, keep in mind these points
- Choose a name that’s easy to type and pronounce
- Keep it short and simple
- Make sure that social media handles with the same name is available – Gmail, Facebook, Twitter, etc.
- If you have to pay a little extra for the perfect domain name, don’t hesitate
Step #4: Finalize your domain hosting
Once you finalize your domain name then you need to buy a reliable hosting platform. A blog host is a company that stores all of the files for your blog and delivers them to the user when they type in your blog name. There are loads of good hosting companies out there.
The important thing is to do your due diligence and pick the right one that’s suitable to your budget and to ensure that the service-level and up-time guarantee is there. The web hosting company I recommend is Bluehost.
Bluehost is also recommended by WordPress. Currently, there is Black Friday Sale going on and you can avail of Bluehost Hosting for a 60% discount.
I started with Godaddy, thanks to my favorite cricketer MSD, but then I started having several issues, my website was down every week, it shows multiple errors, when I called customer care and told him the issue, instead of solving my problems, he started asking me – how is Goa? (I was staying in Goa at that time).
Step #5: Decide your theme and download plugins
Choosing a blog theme is a very important moment in launching your online presence. Themes give you the visual aesthetics and general layout you need to start developing a website.
Balance aesthetics, price, and user experience, and you’ll have a powerful website that your future users will love to visit.
A few WordPress theme elements to consider are:
- Great design that is responsive or mobile-ready
- Easy navigation for users
- Compatible with the newest WordPress updates
- Plenty of developer updates
- Compatible with plugins that you need for your business goals
- Support and documentation
Plugins are bundled pieces of code that affect the way your blog looks and functions. They can add new functionality to your blog, extend your theme’s capabilities, and customize your blog as a whole or in part. It is recommended that keep the number of plug-in less. As more plugin adds more burden and reduced your page load time. I use these free plugin for my WordPress site
- Yoast SEO
- Beaver Builder
- Insert Headers and Footers
- TinyMCE Advanced
- Table Press
- WP Rocket
Step #6: Write posts and publish them
Now comes the moment of truth – writing the articles
Step 1: Choose a catchy headline and write posts on evergreen and trending topics. Start adding drama so as to keep the reader interested and look forward to reading further
Step 2: Use numbers, attractive words, surprising facts in the title
Step 3: Use images, infographics, bullet points, call to action to make it more appealing
Step 4: Use images to enhance your post, improve its flow, add humor, and explain complex topics.
Step 5: Edit your blog post. Make sure to avoid repetition, read your post aloud to check its flow, have someone else read it and provide feedback, keep sentences and paragraphs short, don’t be a perfectionist, don’t be afraid to cut out text or adapt your writing last minute.
Step #7: Promote your blog with friends and on social media platforms
Social media has become the most influential and important virtual space for advertising your brand and your products. With the huge number of online users, which is almost 59% of the world’s population, bloggers must not miss out on their chance of promoting their blogs.
You can start Facebook groups, Instagram, Twitter handles, Pinterest, Linkedin, Quora space, and start posting every new article you post on your blog. You can use Recurpost, Hootsuite that allows posting your blog on a different social media platform with one click. You can also schedule your post and save time.
Make sure to provide an attractive image and an intriguing/useful/shocking title.
You can also use a plugin to create different social media share icons on your website. I use Sassy Social Share for this, it is free and has several features.
Step #8: Once it starts to get decent traffic, you can monetize with Google Adsense
It is recommended that once you have 15-20 unique blog posts on your website and start to attract visitors, you can apply for Google Adsense to monetize your website. You can read this article from google on eligibility for applying for an Adsense account.
I published my first article in November 2018 and in December 2018, I applied for Adsense and got it approved in around 7 days. I had around 10 articles that time but I heard Google has become more strict now, so it is better if you apply only after you have 15-20 unique articles. Each article shall be around 500 or more words.

There are also other website monetizations such as Media Net, Infolinks, but Google Adsense is the best. If for any reason you do not get approval from Google Adsense, you can apply to them and after 2-3 months, you can apply for Google Adsense again.
Step #9: Once you have 40-50 posts, you can apply for affiliate and start promoting them for extra income
Affiliate marketing is when you promote other companies’ products. When someone buys through your affiliate link, you get a commission. As an affiliate, you’re a salesperson for the company. You help to make a sale, the company rewards you.
For every successful blogger affiliate income is a major part of their earning. In my case, 60% of my blog earnings come from affiliates.
But here’s a quick look behind the scenes:
- When an affiliate joins the merchant’s program, he or she is given a unique ID and a specific URL to use when promoting the company’s product.
- The affiliate includes the link in their blog content and/or via their email marketing efforts and invites readers to click it to find out more.
- When a potential buyer clicks on the link to visit the affiliate partners’ site, a cookie identifying the affiliate is placed on their computer. The cookie ensures that the publisher is credited with the referral sale even if it occurs days or even weeks later.
- Whenever a buyer completes the sale process, the merchant checks the sales record for a cookie identifying the source of the referral.
- If the merchant finds a cookie with an affiliate ID, the affiliate is credited with the sale.
- The merchant makes reports available so that the affiliate can see their referrals (clicks) and sales.
- The merchant pays the affiliate commission at the end of each payment period (i.e. revenue sharing).
There are thousands of affiliate opportunities for every blogger. Based on the theme of your blog you can enroll in affiliate programs
Getting affiliate from 10-20-30 different companies is a hectic task and managing them is another trouble. In many cases, these affiliate has a minimum payout that means once you reach the threshold (example 100$), then only you can get the payment. But many times, reaching the minimum payout alone can take several months. Hence what most blogger does is they join a company that has thousands on affiliates with them. Once you join them, you get links for all their affiliate and can promote them without worrying about each threshold limit.
For example, if you have Cuelinks then you can access – Amazon, Flipkart, Tata CLiq, Myntra, and hundreds of more affiliate programs in one platform.
Step #10: Start auditing your website once a month, increase your backlink, analyze your ranking
If you run a website and want to rank higher in google search then it is important that you start optimizing content and audit your website regularly. We all know that SEO is the backbone of a website and you shall start to prioritize SEO over other things.
Let me give you an example, writing grammatically correct sentences fall in good SEO practices, so if I write this answer with tons of grammatical error, Quora won’t rank my answers up and you will see these answers standing at 30th position (example). As everyone wants to get the answer quickly, no one will scroll down to look at my answers and all my time writing this answer will go down the drain.
If your website does not appear on the first page of the search engine (Google, Yahoo, Bing, etc.), then there is no point investing your precious time writing a perfect blog.
An SEO audit can dramatically improve your keyword ranking.

I am assuming that you are new to blogging and hence will try to answer this question with as much detail as I can.
What is SEO auditing?
It is the use of SEO software to check the SEO health of your website (both on-page and off-page SEO). After running the audit, you will get a report with details of errors, broken links, etc. and provide quick win fixes to solve these issues.
What SEO auditing can do?
An SEO auditing can perform the following major tasks
- shows the SEO health of your website with errors and warnings
- suggest ways to fix them
- performs a comparison with your competitors and suggest a way to improve your page ranking
- identify the weaknesses of your website and address ways to solve them
You can do almost anything and everything about SEO using this tool. Some of the amazing features include
- Analyzing competitor website and collecting valuable information on backlink, keywords
- Google often changes its algorithm that can affect your ranking, hence it is important to find the tool which is updated continuously. I find SEMrush the most updated tool when compare to its peer
- Few backlinks degrade your page ranking, so it is important to disavow such ranking. SEMrush tools provide this service.
- You can use the keyword gap analysis tool, keyword magic tool, and phrases features that allow you to rank on a hundred or more other keywords that your site may be missing.
If you have performed an SEO audit on your website then I would strongly recommend you to do so. I am sure that you will find that there are numerous opportunities that will help improve your search ranking and bring more organic traffic to your website.
You can also read my Quora answers where I wrote about the different SEO tools, increasing blog traffic
Wish you a happy blogging
Cheers,
Jacky